
 By John Siers
This is probably going to be more of a “shop tip” than a “feature article” but it’s something that came up recently in my shop that I thought was worth sharing.
The owner of a local gun shop brought me a double-barrel shotgun that wouldn’t fire one barrel. This was two-trigger side-by-side 12-gauge that had obviously been around for a long time and had seen some serious use. The right barrel was not leaving a mark on the primer, despite a solid click from the falling hammer. The triggers appeared to be working OK, so I turned my attention to the firing pins which (fortunately) were accessible from the breech face without a major tear-down of the gun.
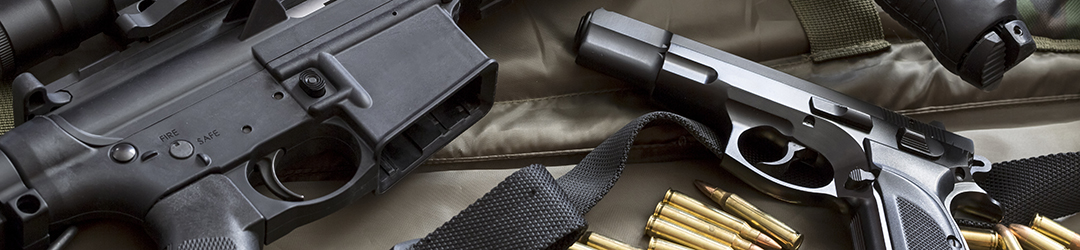
 OK… There’s the problem. One firing pin was worn / broken off or whatever to the point of being significantly shorter than the other (see picture). So… easy fix, just replace the firing pin, right?
Well… maybe so, for some guns; but this one was a Spanish-made gun of indeterminate age /origin. The only marking I could find on it was the legend “Ugartachea – Spain” with not even a model number, gauge, chamber length or choke indication (it was actually a 12-gauge 2-3/4”). I could find no listings for this gun with any of the usual parts sources.
Well, then… just get on your lathe and MAKE a firing pin, Jack. Except that I don’t have a lathe, or any other major machine tool for that matter. I’ve taken Darrell Holland’s course, but I haven’t yet been able to come up with the money for that nifty Smithy 3-in-1 machine, so I am basically a “bench-top” gunsmith. I do most of my metal shaping and part fitting with either a Foredom tool or Bob’s favorite 1” belt sander – neither of which is suitable for fabricating a firing pin.
I ended up searching available shotgun parts until I came up with something that had approximately the right profile – a firing pin that came out of a more modern shotgun – and I picked this one because the extra long shank would give me a way to work on it. This (see picture below) is where I started. Obviously, the pin on the right is the one to be “fitted” and the first thing I did was measure it with a dial caliper. Both the pin itself and the shank were slightly larger in diameter than the pins from the gun… which was a GOOD thing (you can remove metal a lot easier than you can add metal). The next step was to chuck the shank of the new pin into my drill press. Yes, I have one of those. My shop isn’t THAT primitive.
From that point I just turned on the drill press and went to work on it an assortment of needle files, diamond files, and small Norton stones until I had the collar trimmed to shape and both the pin and shank down to the right diameter. It took a while to get it there – that firing pin is made of seriously hardened steel – and I took a lot of caliper measurements along the way. As I’m sure you can tell from the picture, I also had to take some length off the pin end.
Finally, when it was shaped, I carefully marked the shank for the proper length and then – with it still spinning in the drill press – parted it off with a hacksaw blade. All that was left after that was to stone off the sharp edges and install it in the gun.
Test fired good, problem solved, customer happy… thanks to my “Redneck Lathe” solution.
Just don’t tell Darrell Holland about it…
Leave a Reply